
Last updated October 30, 2026
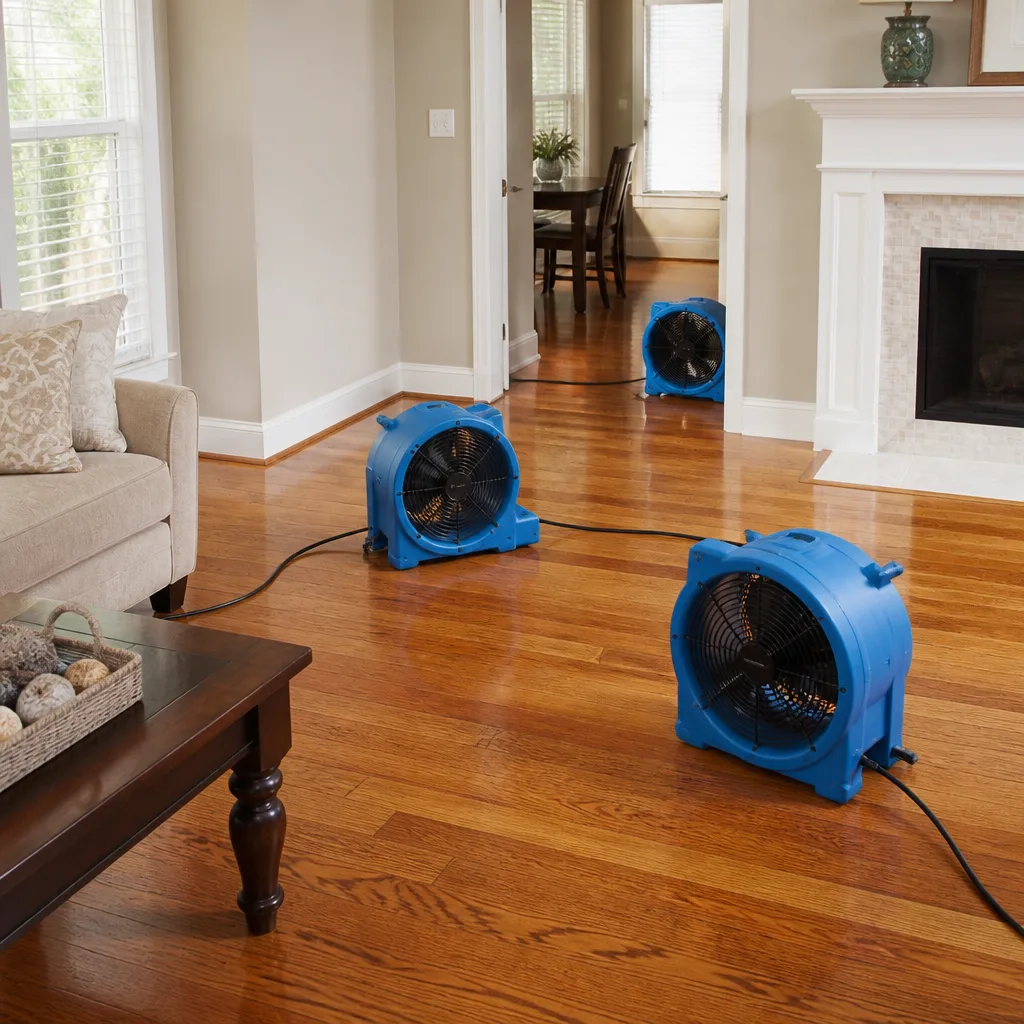 Water damage drying
 Fire & smoke cleanup
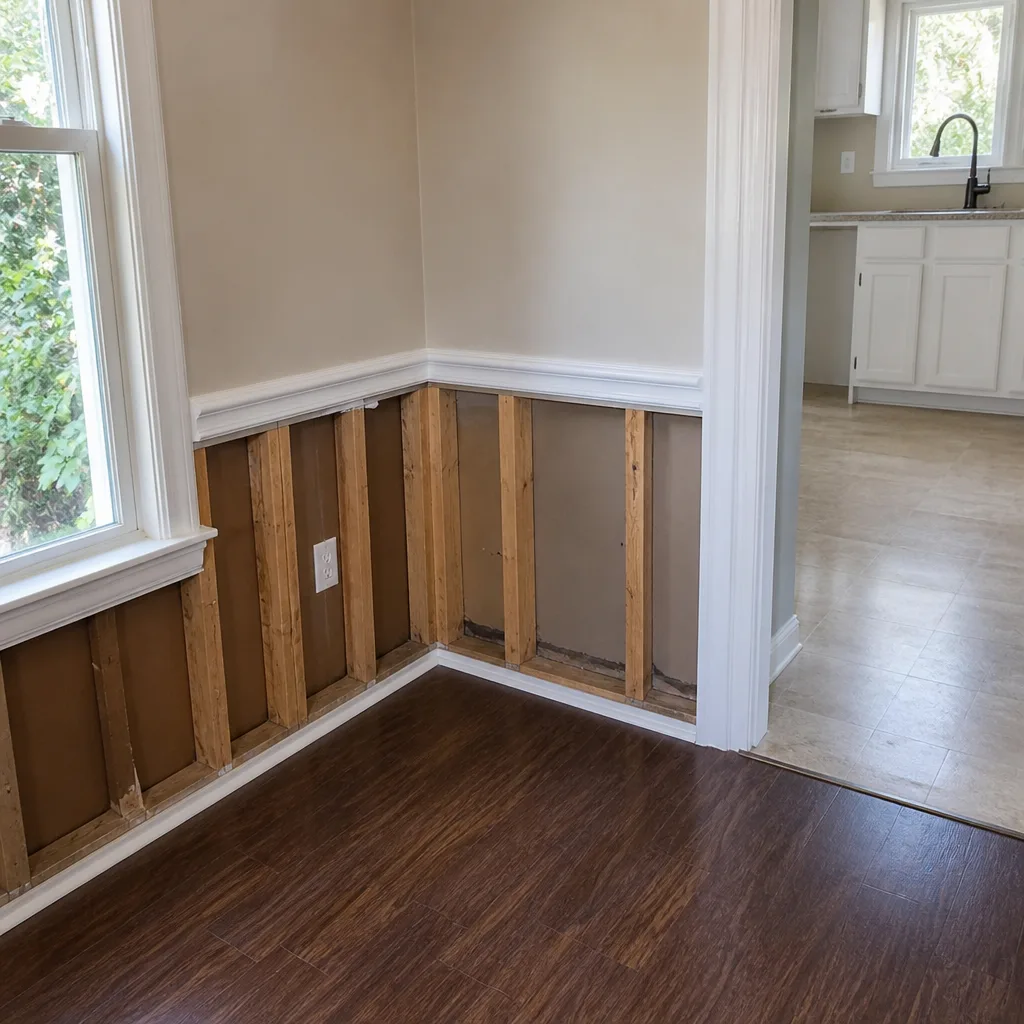 Mold remediation
 Storm response
 Sewage cleanup
 Reconstruction
Free visual inspection and a written scope of work before any mitigation begins - photos, moisture readings, and drying logs go in your claim file
The scope we write is the scope we bill. Anything new gets shown to you, in writing, before we touch it.
Get your free estimateDamage Restoration Warning Signs: A Ontario Homeowner’s Reference Guide
Mold becomes visible at roughly 10 – 14 days under the right conditions, but the moisture that feeds it has typically been present for 3 – 4 days before the source is even discovered. That gap, the quiet stretch between when water first intrudes and when your eyes finally catch the evidence, is where the real damage happens in Ontario homes. By the time a homeowner notices a soft spot in the drywall or a ghost of discoloration on the ceiling, the problem has usually been underway for nearly two weeks. This guide teaches you to read the earlier signals: the smell, the texture change, the subtle deformation of flooring and finishes that indicate water has already moved beyond the surface. For more guides & resources, see our blog. If you own a home in Ontario, these are the warning signs that matter most.
Quick Answer
The most reliable early signs of hidden water damage in an Ontario home are a persistent musty or earthy odor with no visible source, drywall that feels cool or soft to the touch in isolated areas, and flooring that begins to cup, crown, or lift at seams. These signals typically appear 72 – 96 hours after water intrusion begins and indicate that moisture has penetrated beyond the surface. If you notice any of these conditions, the intrusion is already active and a professional inspection is warranted.
Restoration work we handle
Table of Contents
- The Sensory Sequence: How Hidden Water Damage Announces Itself
- Reading Drywall: Cosmetic Staining vs. Active Moisture Intrusion
- Flooring-Specific Warning Signs: What Each Material Tells You
- The Ceiling Stain Classification System: Rings vs. Uniform Discoloration
- Category Progression: When Clean Water Becomes Something Worse
- DIY-Monitor vs. Call-Today: Specific Thresholds That Decide
- Documenting What You See: Evidence Your Insurer Can Actually Use
- Common Mistakes to Avoid
- When to Call a Professional
- Frequently Asked Questions
The Sensory Sequence: How Hidden Water Damage Announces Itself
Water intrusion follows a predictable announcement pattern. It rarely shows up as a puddle first. Instead, the signs arrive in a sequence, and each stage tells you something specific about how far the moisture has traveled and how long it has been present.
In our experience across Ontario properties, the sequence almost always goes like this:
- Smell (hours 24 – 72). The first signal is olfactory. Hidden moisture behind a wall or under flooring begins to support microbial activity almost immediately. The smell is often described as musty, earthy, or “like wet cardboard.” It comes and goes at first, stronger when the HVAC runs or when a particular room warms up. This is the stage most homeowners dismiss as a one-off odor. It is not. A persistent musty smell with no visible source is the earliest reliable warning that water is present somewhere it should not be.
- Texture change (hours 72 – 120). The second signal is tactile. Drywall that has absorbed moisture feels cool to the back of the hand, even in a warm room. Press lightly with a fingertip: hydrated gypsum gives slightly, feeling spongy rather than solid. Baseboards may loosen. Paint may feel tacky. This stage indicates the moisture has saturated the surface material, not just the air around it.
- Visible staining (days 7 – 14). The third signal is visual. Water that has been sitting in drywall, ceiling material, or subflooring begins to wick to the painted surface. The stain appears as a pale yellow, tan, or brown patch, often with soft edges that expand slowly. By this stage, the moisture has been present long enough to move through the material from the back side to the front. The stain is not the start of the problem. It is the confirmation that the problem is at least a week old.
- Material failure (days 14+). The fourth signal is structural. Ceiling tiles sag. Drywall begins to crumble. Flooring separates at the seams. Paint blisters and peels in sheets. This is the stage where cosmetic repair is no longer on the table and full material replacement becomes the likely path.
Understanding this sequence matters because it lets you intercept the problem earlier. A homeowner in Ontario who recognizes the musty smell at 48 hours and calls for an inspection is in a fundamentally different position than one who waits for the stain to appear at day 12, as explained in our DIY vs Professional Damage Restoration: The Ontario Homeowner’s Decision Guide. The first homeowner may be looking at targeted drying with professional equipment. The second is likely looking at drywall removal, cavity treatment, and possibly mold remediation.
Ontario’s semi-arid climate works against you here, which is why Seasonal Damage Restoration Care for Ontario: Year-Round Homeowner’s Guide matters. The warm, dry air masks moisture levels in a way that more humid regions don’t. A wall cavity that is actively wet can feel dry on the surface because the ambient air is pulling moisture through the paint as vapor. This is exactly why the smell often arrives before the stain in Ontario homes, and why surface touch alone is not a reliable test.
Reading Drywall: Cosmetic Staining vs. Active Moisture Intrusion
Not every stain on a wall means you have an active water problem. Some are historical, the ghost of a leak that was fixed years ago and left a mark behind. The question is how to tell the difference without tearing the wall open.
The professional answer is a non-invasive moisture meter. These tools read the electrical conductivity or electromagnetic field of the material behind the surface, giving you a moisture content reading without a single hole. A reading of under 5% on drywall is considered normal. Between 5% and 12% indicates elevated moisture that warrants attention. Above 12% means the material is actively wet and deterioration is underway.
But you don’t need a $400 meter to make an initial judgment. Here is what we look for:
- Stain edge sharpness. An old, dry stain has a defined edge. The water stopped, the surface dried, and the boundary between stained and unstained material is crisp. An active stain has a soft, feathered edge that seems to blur into the surrounding surface. The stain is still spreading.
- Temperature differential. Place the back of your hand against the stained area and then against a known-dry section of the same wall. An active moisture area will feel measurably cooler, sometimes by several degrees. Evaporation is active cooling.
- Paint condition. Active moisture pushes against the paint film from behind. Look for micro-bubbling, a subtle texture change that looks like fine sandpaper, or paint that has begun to lift at the edges. Old stains sit flat under intact paint.
- Sound. Tap the area with a knuckle. Dry drywall sounds solid and resonant. Moisture-laden drywall sounds dull, almost dead. This is not a precise test, but a pronounced dullness across a stained area is a strong signal.
- Small, single-ring stain: likely a one-time event that was caught quickly. Check with a moisture meter. If dry, patch and repaint after confirming the source is fixed.
- Multi-ring stain: intermittent source. Find the source before touching the ceiling. The stain will return if you don’t.
- Large, uniform, darkened stain: saturated cavity. Cut a small inspection opening. The material behind that stain is wetter than you think.
- Stain with sagging or bulging drywall: water is pooling above the surface. This is a call-today condition. That ceiling section can let go without warning.
- A dry stain with crisp edges and no odor, confirmed by touch as warm and solid, with no change over 48 hours.
- A tiny water spot under a sink that appears immediately after a known spill and dries fully within hours.
- A single small stain on a ceiling that has not grown in size or changed color over multiple weeks and checks dry with a meter.
- Any persistent odor with no visible source. If you smell must and cannot find it, the water is hidden. Hidden water does not dry on its own. Call today.
- Any stain that is growing. Measure it. Mark the edge with a pencil. Check again in 24 hours. If the edge has moved, the source is active. Call today.
- Any sagging or bulging on a ceiling or wall. This means water is pooling. The structural failure of that surface is a matter of when, not if. Call today.
- Any flooring that has begun to cup, crown, lift, or sound hollow. The moisture has reached the subfloor. The longer it sits, the more extensive the removal. Call today.
- Any visible mold growth larger than a dinner plate. At that size, you are past the wipe-it-up stage. Mold remediation requires controlled containment, not just cleaning products. Call the same day.
- Any water event you cannot fully dry within 48 hours. If you’ve been running fans for two days and the area is still damp, stop. You are losing the Category 1 window. Professional drying equipment from brands like XPOWER and Dri-Eaz moves air at volumes that consumer fans simply cannot match.
- Photograph everything, before you move anything. Wide shots that locate the damage in the room, then close shots of every affected surface. Include a reference object for scale: a coin, a tape measure, a light switch plate.
- Photograph the source, if you can see it. The failed fixture, the leaking pipe, the cracked fitting. The adjuster needs to see what failed, not just what got wet.
- Log the timeline. Write down when you first noticed each symptom: the smell, the stain, the texture change. Note when the source was identified and shut off. That timeline matters for the claim and for the remediation scope.
- Keep a sample of any damaged material destined for removal. A piece of wet drywall, a section of stained carpet pad, a swatch of contaminated flooring. Seal it in a plastic bag and label it with the date and location. If mold questions arise, that sample may save the claim.
- Request a written scope before any removal begins. A professional restoration company working to IICRC-aligned standards should provide a written scope of work with moisture readings and a drying plan before demolition starts. That document is what adjusters recognize.
- Painting over an active stain. Paint is a vapor barrier in exactly the wrong place. It traps moisture in the drywall and accelerates deterioration. The stain will bleed through within weeks, usually darker than before.
- Relying on consumer fans and dehumidifiers for a structural wetting event. A hardware-store fan moves air across surfaces. Professional drying equipment from brands like XPOWER and Phoenix moves air through materials. The moisture in a wall cavity or under flooring will not respond to a box fan in the doorway.
- Assuming “waterproof” flooring means a waterproof floor. LVP and other synthetic flooring materials may resist surface water, but they also trap water beneath them. A “waterproof” floor can hide a soaking subfloor for weeks.
- Waiting for mold to appear before taking action. By the time mold is visible, the moisture condition that fed it has been present for at least 10 – 14 days. The remediation scope is already larger than it would have been at day 3.
- Trusting a generalist contractor’s visual assessment without moisture readings. If someone tells you the area “looks dry,” ask to see the meter readings. Drywall can feel dry to the touch and be saturated two inches behind the surface.
- Ignoring the first musty smell. The smell is the earliest warning you get. It appears before stains and before material failure. In Ontario’s dry climate, an unexplained musty odor is almost always an active moisture condition, not stale air.
- Cutting out wet drywall without addressing the cavity. Removing the visible damaged material is not the same as drying the structure. The studs, insulation, and sill plate behind that drywall are still wet, and they will keep feeding moisture back into the rebuilt surface if they are not dried or treated first.
If a stain is old and dry, you can prime and repaint. If it’s active, painting over it just traps the moisture and accelerates deterioration behind the new paint. This is one of the most common mistakes we see in Ontario rental properties and flips: a fresh coat of paint over an active leak, giving a new homeowner a clean-looking wall and a growing problem behind it.
For a genuinely uncertain reading, a restoration company using professional-grade equipment from Dri-Eaz or Phoenix can map the moisture spread in minutes. Learn more in our How to Hire a Damage Restoration Contractor in Ontario: A Step-by-Step Guide. The difference between cosmetic staining and active intrusion is not a guess. It’s a measurement.
Flooring-Specific Warning Signs: What Each Material Tells You
Flooring is the honest surface. It cannot hide moisture the way painted drywall can. Each material type fails in its own characteristic way, and learning to read those failure patterns tells you the source and the severity of the water problem underneath.
Engineered Hardwood
Engineered hardwood responds to moisture by cupping: the edges of individual planks lift while the centers stay down, creating a washboard texture you can feel through socks. Cupping means moisture is entering the wood from below, typically from a slab or subfloor that has been soaked. The moisture travels upward through the bottom layers of the plank, expanding the underside while the top layer stays relatively stable. The degree of cupping correlates roughly with moisture content: slight cupping suggests a recent or minor intrusion that might recover with drying; pronounced cupping means the subfloor is saturated and has been for days.
Crowning, where the center of the plank rises and the edges stay down, is the opposite signal. It usually appears after cupped flooring has been dried too aggressively from the top, or when a previous wetting event was never properly addressed and the wood is responding to long-term moisture cycling. Crowned boards will almost never return to flat without sanding or replacement.
Luxury Vinyl Plank (LVP)
LVP is sold as waterproof, and the plank itself is. The problem is the substrate. Water that seeps between the seams of a floating LVP floor travels under the planks and sits on the slab or subfloor, trapped by the very waterproof layer above it. The warning signs are different from wood. Look for planks that have begun to lift at the seams, creating a lip you can feel when you walk. Look for areas where the floor sounds hollow or squishes underfoot, a sign that water has pooled below. Listen for a tacky sound as you walk, a subtle adhesive-like peel as the plank flexes against trapped moisture. And watch for discoloration along the edges of light-colored planks, where the trapped water begins to stain the wear layer from underneath.
In Ontario homes with slab foundations, water that gets under LVP from a slab leak or a plumbing failure near an exterior wall is often invisible for weeks because the vapor barrier does its job until it doesn’t. The first sign is often the smell, not the look.
Tile
Ceramic and porcelain tile are the most moisture-tolerant flooring surfaces, but they are not immune to substrate failure. The grout is the canary. Grout that darkens in patches, crumbles, or pulls away from the tile edges in a localized area indicates moisture is working through the setting bed. Hollow-sounding tiles under a light tap suggest the thinset bond is failing, a common consequence of prolonged moisture exposure. And if the tile is laid over a wood subfloor, the tile itself can telegraph the problem: cracks running along grout lines in a stair-step pattern often mean the subfloor is swelling and deflecting beneath the tile.
Each of these flooring signals points to water that has moved beyond the surface. They are not cosmetic issues that resolve on their own. The material is telling you what’s happening underneath.
The Ceiling Stain Classification System: Rings vs. Uniform Discoloration
Ceiling stains are the most commonly noticed water damage sign in any home, but most people read them wrong. They see a stain and think “there was a leak.” The shape, color, and pattern of the stain tell you much more than that.
The single most useful distinction is between ring patterns and uniform discoloration.
Ring Patterns: A Repeating or Intermittent Source
A ceiling stain that shows concentric rings, like a topographical map or tree rings, is the signature of a leak that has cycled on and off. Each ring represents a separate wetting event. The water soaked through the ceiling material, dried partially, and then the source reactivated. The multiple rings are the residue left behind as each wetting event carried contaminants and dissolved ceiling material outward to its own edge before stopping.
Ring patterns in an Ontario home almost always point to one of three sources: a roof leak that activates during rain events and then goes dormant, a plumbing fixture or drain line above the ceiling that leaks only when used, or an HVAC condensate line that drips during cooling cycles. The pattern tells you the leak is intermittent, not constant. That matters for diagnosis, because an intermittent source is harder to catch in the act. You may need to replicate the conditions: run the shower, flush the toilet, or wait for rain before the stain will tell you more.
Uniform Discoloration: A Persistent or Saturated Condition
A single, even patch of discoloration with no distinct rings usually means water has pooled or saturated the ceiling material in that spot and stayed there. The moisture spread outward until it reached an equilibrium with the surrounding dry material, then stopped. This pattern is more consistent with a one-time event (an overflowing tub, a burst supply line that was shut off quickly) or a very slow, continuous seep that keeps the area consistently damp.
The color of the stain adds a second data point. Fresh water damage is typically pale yellow or light tan. As the moisture sits, the stain darkens toward brown or copper, a sign that the water is picking up dissolved minerals or tannins from the ceiling material. A dark brown or black stain that is actively growing at the edges suggests long-term saturation and possible mold activity within the ceiling cavity.
What the Pattern Means for Repair
Ceiling stains are the most straightforward of all water damage signals to read once you know the classification system. The stain is not just a record of what happened. It’s a map of the source’s behavior.
Category Progression: When Clean Water Becomes Something Worse
The homeowners who call us from Ontario often say the same thing: “It was just clean water.” They’re usually right, at least about the source. A supply line break, a failed water heater, an overflowing sink: that’s Category 1 water by the IICRC classification system. It comes from a sanitary source and poses minimal immediate health risk.
The problem is that Category 1 water does not stay Category 1 for long. The same classification system that defines the starting condition also defines the decay timeline. Water that sits, even in a wall cavity, begins to pick up contaminants from the materials it touches. Drywall dust, insulation fibers, adhesives, and whatever has accumulated in the cavity over the life of the home all leach into the water. Bacteria that were already present begin to multiply in the warm, wet environment.
The industry-standard timeline is blunt: Category 1 water degrades to Category 2 within 48 – 72 hours in a typical indoor environment. Category 2 water, which contains significant contamination, degrades to Category 3 within another 24 – 48 hours if left standing. Category 3 is the classification for grossly contaminated water, the stuff of sewage backups and floodwaters, and it changes the entire remediation protocol: complete removal of affected porous materials, not just drying.
Read that timeline again. A clean water leak that happens on a Friday night in an Ontario home can be Category 3 by Tuesday afternoon, even if the visible puddle was small. The water that soaked into the wall cavity and the carpet padding and the subfloor has been doing exactly what warm, trapped water does. The visible water you dried up with towels was the easy part.
This is why the 72 – 96 hour window is the critical period for intervention. If you discover a leak quickly and get professional drying started within that window, you are often looking at Category 1 scope: extraction, structural drying, monitoring. If the leak is discovered at day 5 or beyond, you may be looking at a different conversation entirely. The water has had time to classify up, and the remediation protocol changes accordingly.
We regularly see this progression in Ontario homes where a slow drip behind a wall went unnoticed. The homeowner finds a damp spot, dries it with a fan, and figures the problem is solved. What they don’t realize is that the water in the cavity has spent days becoming Category 2, and the visible damp spot is just the leading edge of a much larger hidden condition. By the time they call us, we are past drying and into material removal.
DIY-Monitor vs. Call-Today: Specific Thresholds That Decide
There is a bright line between a condition you can watch and a condition you need to act on immediately. The line is not about your comfort level. It’s about what the moisture is doing to your structure at any given hour.
Here are the specific thresholds we use when Ontario homeowners ask whether they can wait:
Monitor-and-Recheck Conditions
Call-Today Conditions
The threshold logic is simple: if you cannot see the full extent of the moisture, or if the visible moisture is not responding to your efforts, you are past the point of watching. Every day you wait, the scope grows.
Documenting What You See: Evidence Your Insurer Can Actually Use
When a water event turns into an insurance claim, the quality of your documentation determines how smoothly that claim moves. Insurers and their adjusters work from evidence, not narrative. The photos you take in the first 24 hours become the baseline for everything that follows.
We see the documentation gap constantly in Ontario claims. A homeowner calls us after a week of trying to manage a leak themselves. They have an estimate from a contractor, but no photos of the original condition. The adjuster has nothing to compare against. The claim stalls or the scope gets reduced because the evidence trail starts too late.
Here is the documentation protocol we recommend starting the moment you notice a problem:
Good documentation doesn’t just support your claim. It forces accountability into the process. When every affected area is photographed and every reading is recorded, the scope of work is based on evidence, not opinion. That’s the difference between a claim that gets approved and a claim that gets negotiated down.
Our full-loss-event approach across water damage restoration, mold remediation, and fire damage restoration means the documentation standard stays consistent from the first moisture reading through the final clearance, which is exactly what an adjuster wants to see.
Common Mistakes to Avoid
When to Call a Professional
Call a professional when the moisture condition exceeds what you can see, measure, or dry yourself. That includes any persistent odor without a visible source, any stain that grows over 24 hours, any sagging ceiling or wall, any flooring that has begun to cup or lift, and any water event you cannot fully dry within 48 hours. Call when the water source is a slab leak, a roof penetration, or anything involving the building envelope. Call when mold is visible beyond a small surface patch. And call before you agree to any demolition, so the moisture mapping and written scope exist before the removal begins. Dorchester Water Damage offers free estimates in Ontario. Call (833) 589-8366 and we’ll send someone out to assess the condition with professional-grade equipment and a written scope.
Frequently Asked Questions
Hidden water damage announces itself through a sequence of signals: a persistent musty or earthy odor with no visible source, drywall or flooring that feels cool or soft in isolated areas, and staining that appears without an obvious spill or leak. In Ontario’s dry climate, the surface often feels dry even when the cavity behind it is soaked, so the smell is frequently the first reliable indicator. If any of these signals are present, a professional moisture assessment is the next step.
Under typical indoor conditions, mold can begin to colonize on wet building materials within 24 – 48 hours, though visible growth usually takes 10 – 14 days to appear. The moisture that feeds that growth is often present for 3 – 4 days before the source is even discovered, meaning the mold clock starts well before the homeowner knows there is a problem. By the time you see mold, the underlying moisture condition has been active for nearly two weeks.
Water damage restoration in Ontario varies widely depending on the category of water, the extent of the affected area, and whether structural drying or demolition is required. A targeted drying job with professional equipment typically runs lower than a full Category 3 remediation requiring material removal and rebuild. Call (833) 589-8366 for a free estimate based on a written assessment of your specific condition.
Most homeowners policies cover hidden water damage that results from a sudden, accidental event, such as a burst pipe or a failed water heater, but the coverage often depends on how quickly the condition was discovered and mitigated. Damage that resulted from a long-term leak or unaddressed maintenance issue is more likely to be contested or excluded. This is why your documentation timeline matters: policies expect reasonable care, and delayed response can affect the claim. Call (833) 589-8366 to discuss your situation.
You can dry a small, contained spill with consumer equipment if you can fully dry the affected area within 48 hours and the water did not penetrate beyond the surface. Once moisture has moved into a wall cavity, under flooring, or into the subfloor, consumer fans will not move enough air through the material to dry it. Professional drying fleets, including the Dri-Eaz and XPOWER equipment we run, are designed to drive air through structural cavities, not just across surfaces. If you cannot achieve complete dryness in two days, stop and call.
Water damage restoration is the process of extracting water, drying affected materials, and restoring the structure to a pre-loss condition. Mold remediation is the controlled removal and treatment of mold growth that has developed as a result of moisture, requiring containment and clearance testing. The two are related because every mold condition starts with water; addressing the moisture first is always the priority. Dorchester Water Damage home covers both services, plus fire damage restoration, under one accountable company so there is no handoff gap between the trades.
The Bottom Line
The water damage that costs Ontario homeowners the most is the water they never see in the first week. A musty smell that gets dismissed, a cool spot on the wall that feels dry by morning, a floor that has started to cup at the edges, these are the signals that matter, and they arrive in a predictable sequence that anyone can learn to read. Catch the problem at the smell stage and you are likely looking at professional drying and a manageable claim. Wait for the stain, the sag, or the visible mold, and the scope expands into removal, remediation, and rebuild. The tools to recognize the early warning signs are in your hands now. The only missing piece is the call when you spot them.
Written by the team at Dorchester Water Damage, serving Ontario since 2018.
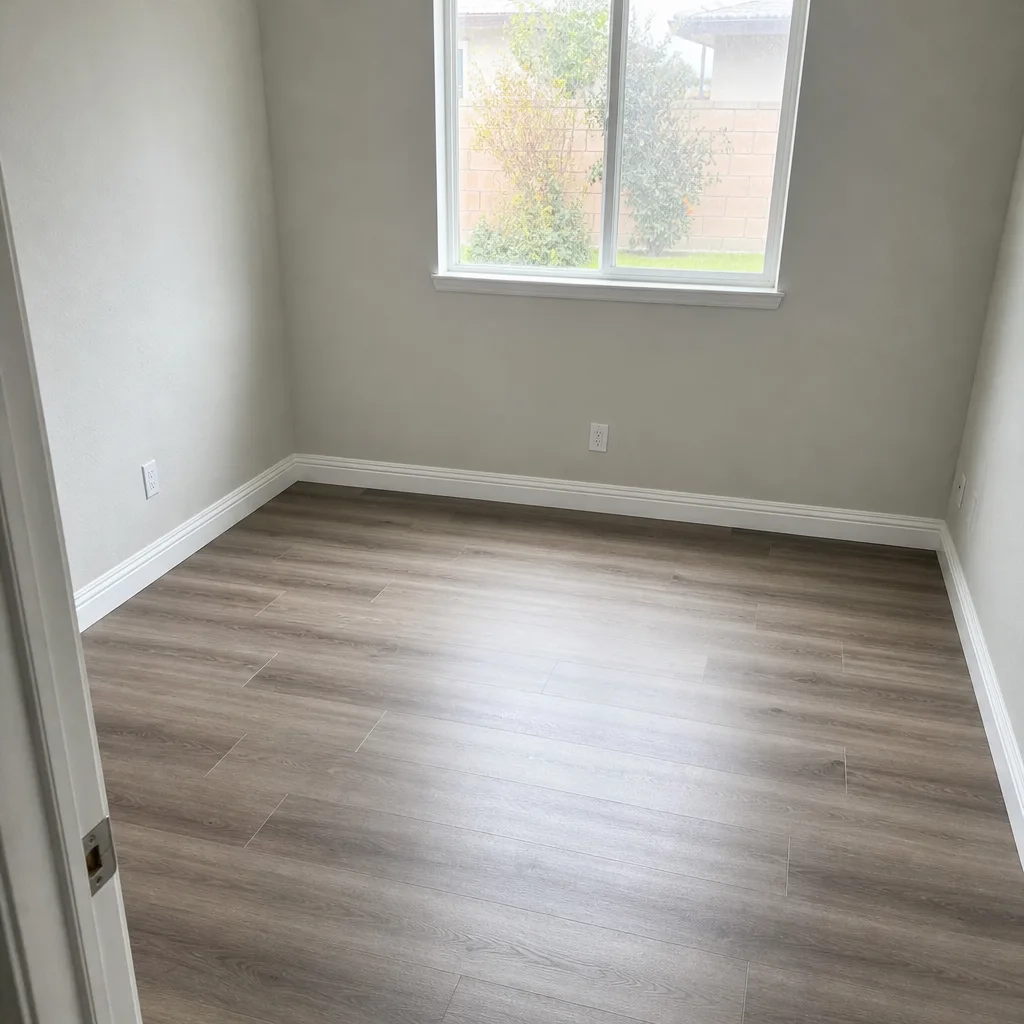
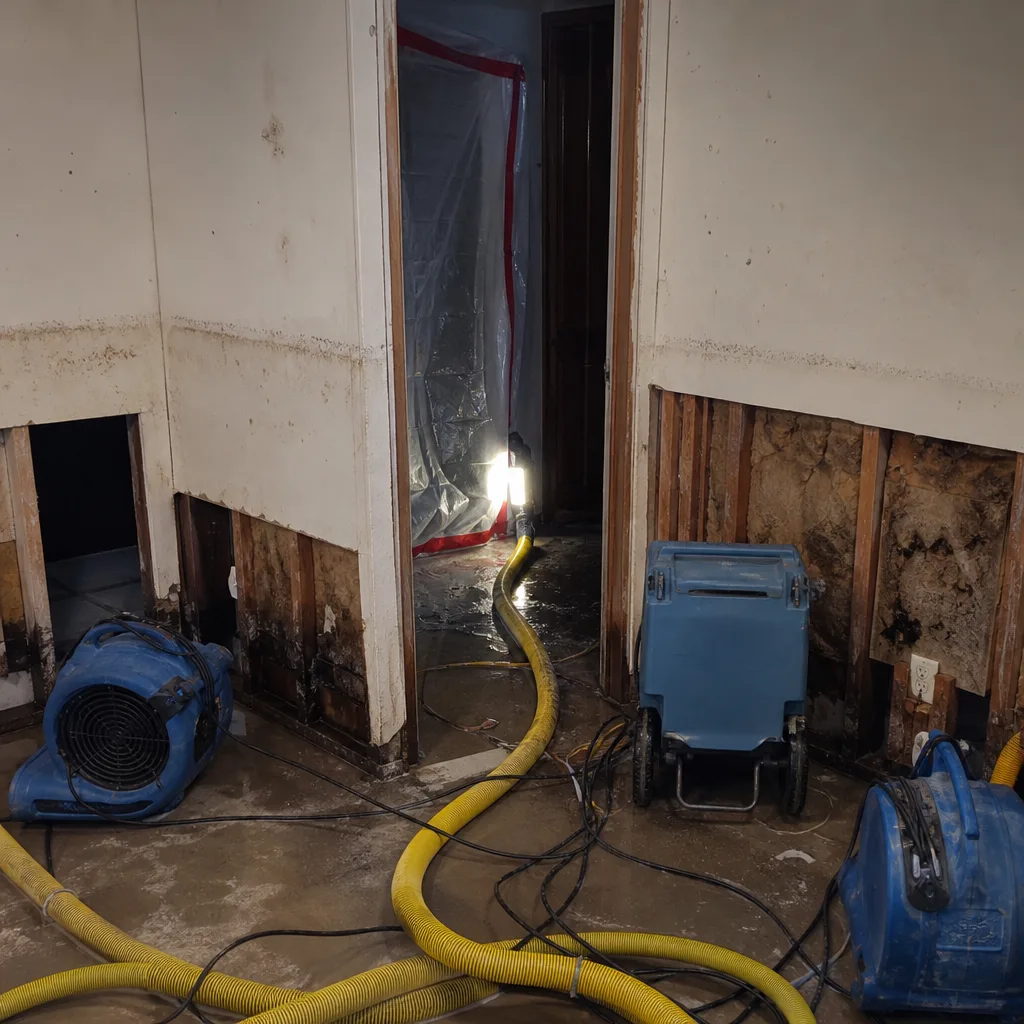
See the difference
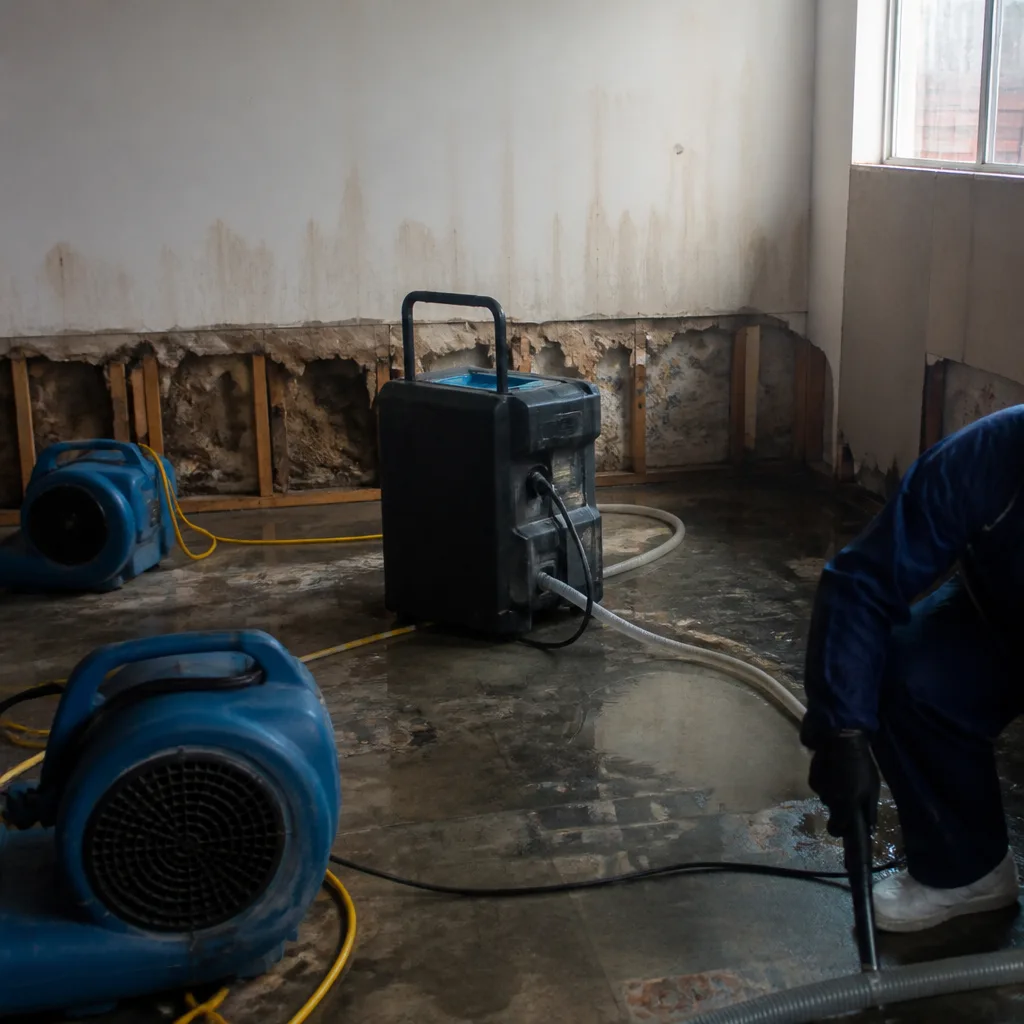 Before
 After
 Before
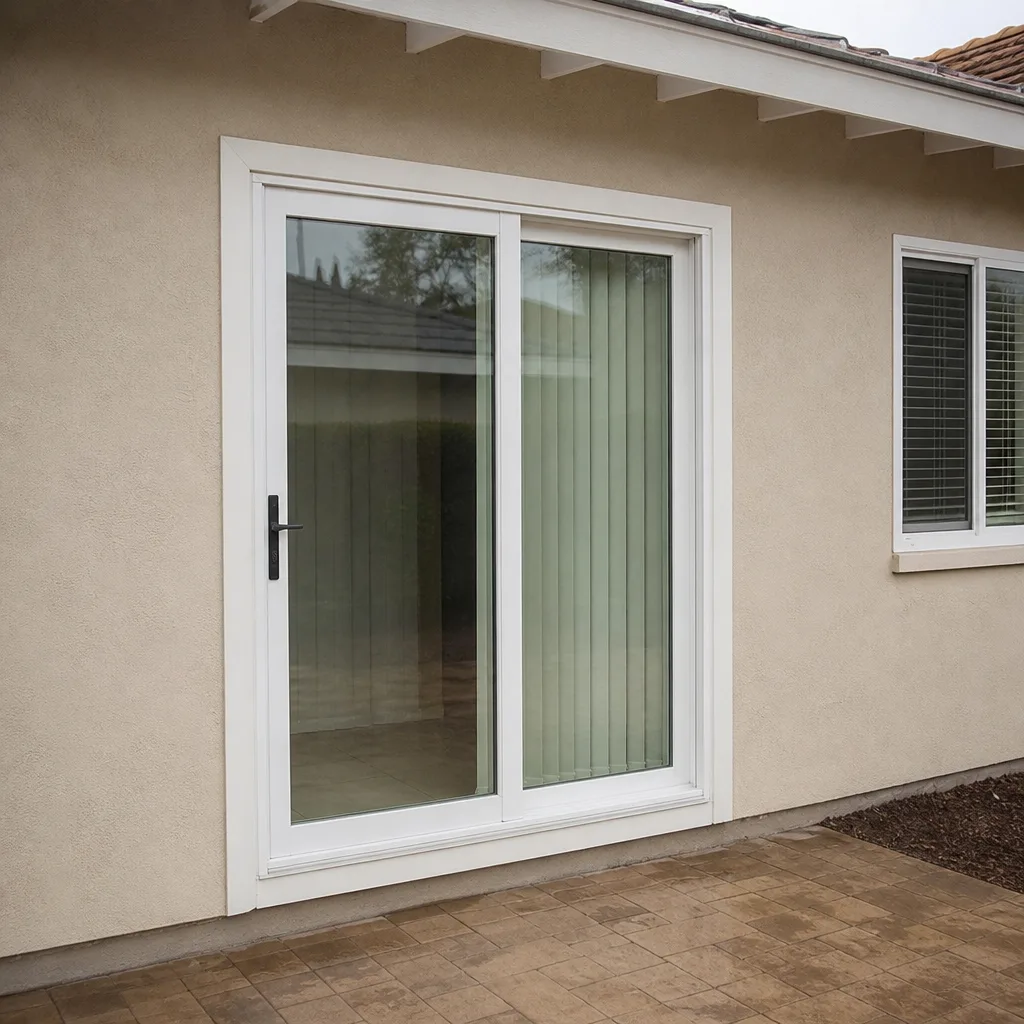 After
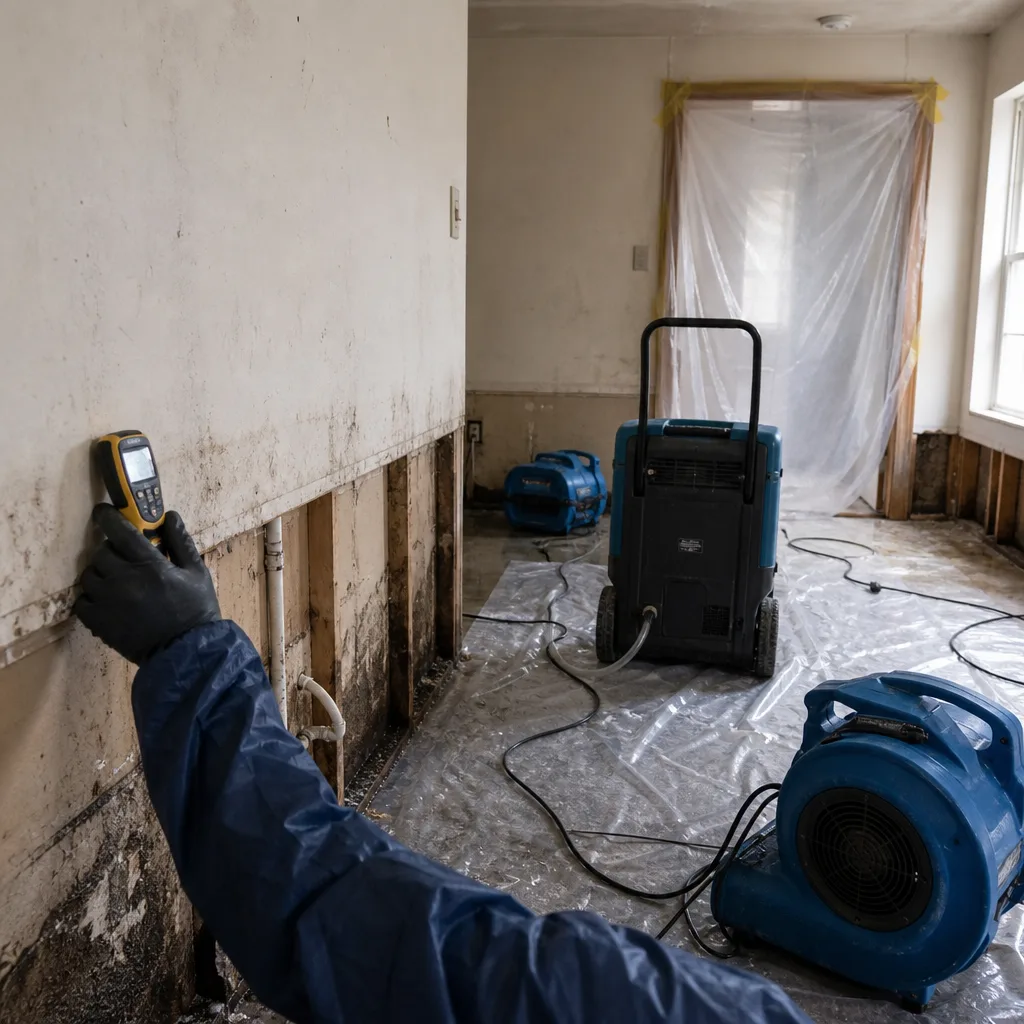 Before
 After