
Last updated October 30, 2026
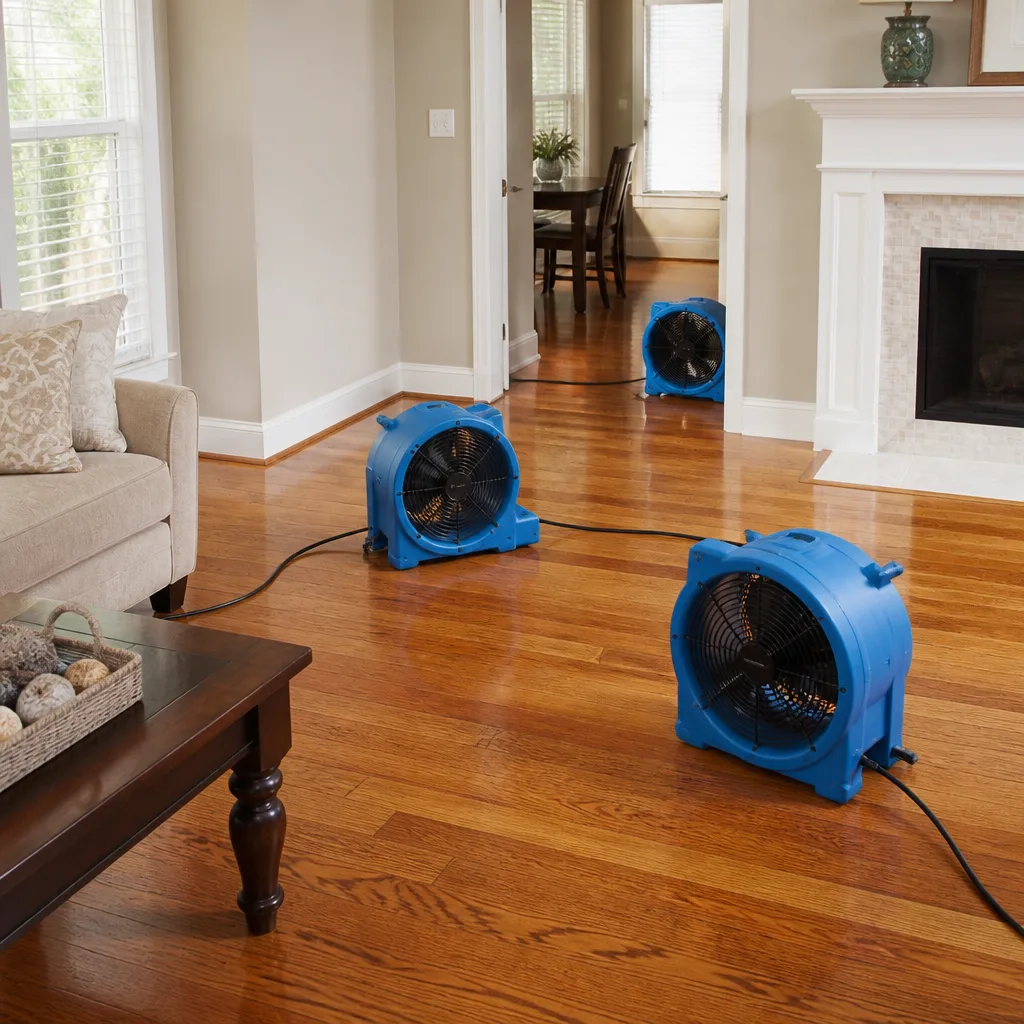 Water damage drying
 Fire & smoke cleanup
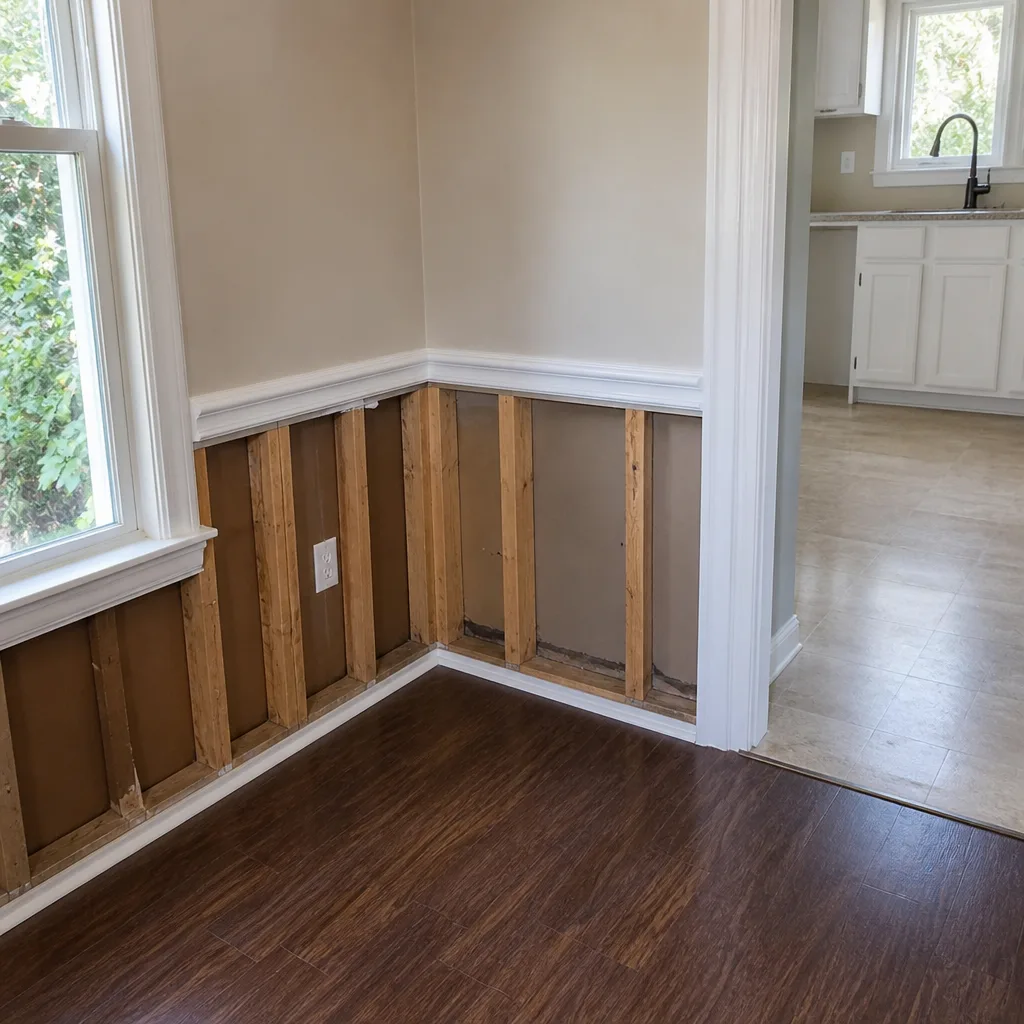 Mold remediation
 Storm response
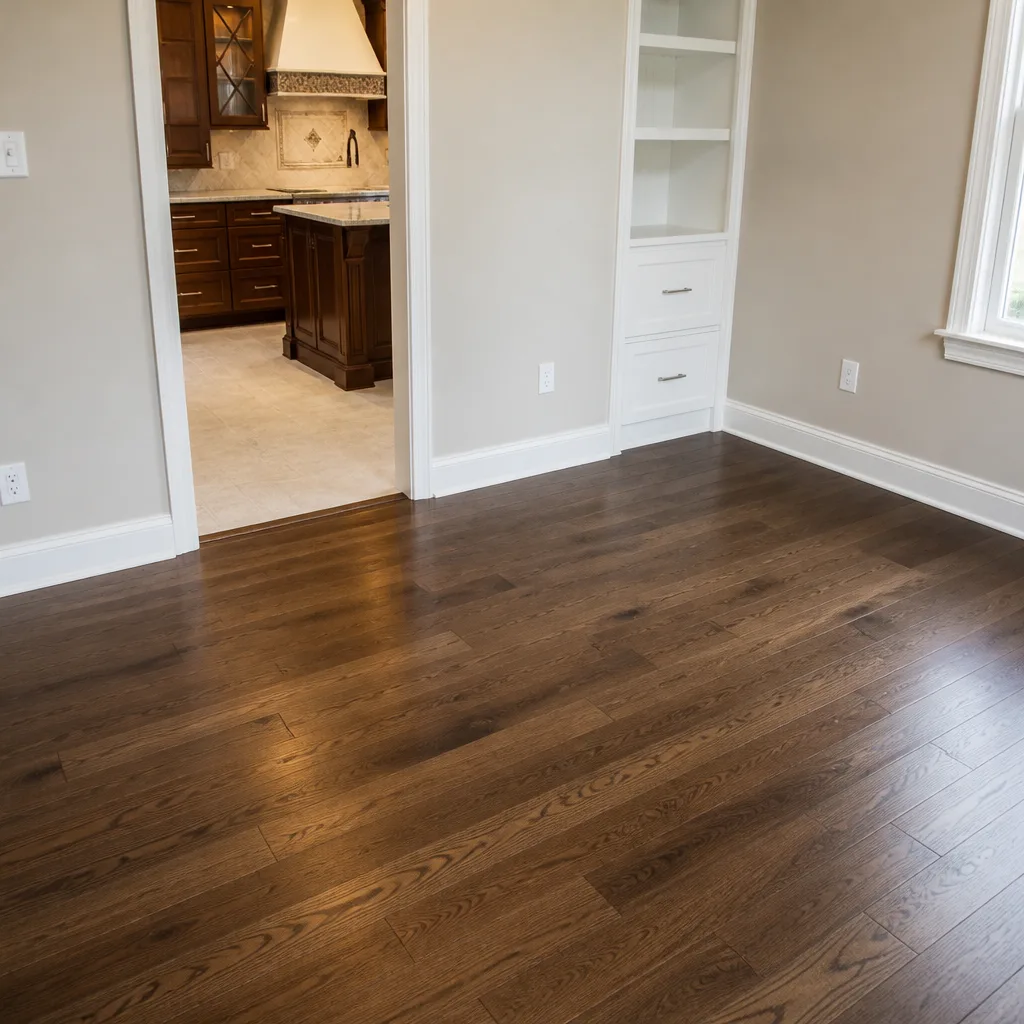 Sewage cleanup
 Reconstruction
Free visual inspection and a written scope of work before any mitigation begins - photos, moisture readings, and drying logs go in your claim file
The scope we write is the scope we bill. Anything new gets shown to you, in writing, before we touch it.
Get your free estimateWater Damage Restoration Troubleshooting: Common Problems and How to Fix Them
Most “failed” dryouts in Ontario homes are not mysterious. When a dehumidifier is still pulling 20+ pints per day on day four of a standard Category 1 water loss, the drying system was undersized from the start, the air movers are positioned wrong, or a moisture source is still feeding the structure. This guide provides a fault-finding framework used by restoration professionals and adjusters to diagnose exactly why a dryout stalls, what to inspect first, and which readings tell you whether the problem is equipment capacity, airflow, or a missed cavity. For a broader overview, see our Complete Guide to Damage Restoration in Ontario. We wrote this from years of correcting jobs that other companies in Ontario walked away from too early.
Restoration work we handle
Quick Answer
Water damage restoration usually stalls for one of four reasons: the dehumidifier lacks enough pint capacity for the square footage, air movers aren’t creating turbulent airflow across every wet surface, moisture remains trapped inside wall cavities or sub-floor assemblies where surface readings look dry, or the original water source wasn’t fully stopped. The fix starts with comparing daily moisture readings against a drying log. If grain depression readings plateau or relative humidity stays above 50% after day three, the drying system needs to be resized or repositioned before mold colonization begins, typically within 48 to 72 hours.
Table of Contents
- Reading the Drying Log: Grain Depression and What Your Dehumidifier Is Telling You
- The Dehumidifier Capacity Problem: Why “Running Constantly” Is a Red Flag
- Airflow Bottlenecks: Air Movers, Dead Zones, and Why One Fan Can’t Do the Job
- Structural Moisture vs. Surface Moisture: The Reading That Exposes a False “Dry”
- Persistent Musty Odor After a Dryout: Missed Cavities and Unsealed Wall Sections
- Containment Failures on Category 2 and 3 Jobs: Negative Air Pressure Done Wrong
- Documenting a Failed Dryout: What Homeowners Can Capture to Support a Claim or Dispute
- Common Mistakes to Avoid
- When to Call a Professional
- Frequently Asked Questions
- The Bottom Line
Reading the Drying Log: Grain Depression and What Your Dehumidifier Is Telling You
Every professional dryout should produce a daily log. That log contains the two numbers that matter most: grains of moisture per pound of dry air (specific humidity) and the temperature inside the affected area. Grain depression is the difference between the specific humidity of the air entering the dehumidifier and the air leaving it. A dehumidifier working correctly on a wet structure should show a grain depression between 30 and 50 grains per pound. When that number drops below 20 grains while the room still feels damp, the machine is either undersized, icing up, or processing air that’s already too dry to pull meaningful moisture.
Here’s the sequence we check on any Ontario dryout that isn’t progressing:
- Record entering and leaving grains. Use a thermo-hygrometer at the intake and exhaust of the dehumidifier. If the differential is under 15 grains, the machine is no longer extracting water at a meaningful rate.
- Measure grains in the center of the wet area. If the room’s specific humidity remains above 55 grains per pound while the dehumidifier shows a strong differential, the machine is working but the air isn’t circulating through the wet zone.
- Check coil temperature. A dehumidifier that frosts over repeatedly is running below its design dew point. That’s an equipment problem, not a structure problem. The fix is a defrost cycle or a different machine.
- Verify the drain path. A kinked condensate line or a full collection bucket will trip the float switch and shut the compressor down while the fan keeps running, which makes it look like the dehumidifier is working when it isn’t.
We’ve corrected multiple Ontario jobs where a homeowner was told the dryout was “done” but the daily log showed specific humidity climbing overnight. That’s a moisture source still active, not a drying system finishing its job. The Dorchester Water Damage home page outlines our full process, but the short version is this: if the log isn’t moving in the right direction every day, the system needs adjustment, not patience.
The Dehumidifier Capacity Problem: Why “Running Constantly” Is a Red Flag
A dehumidifier that runs without stopping is the single most common sign of an undersized drying system. Low-capacity machines, typically the 20 to 30 pints-per-day units sold at hardware stores, cannot keep up with a flooded wall cavity or a saturated sub-floor. They’re built for basements with slightly high humidity, not for extracting hundreds of gallons of water from building materials after a pipe break in Ontario.
The math is straightforward. A Category 1 water loss covering 200 square feet of drywall and carpet pad holds roughly 40 to 60 gallons of water. A 30-pint dehumidifier removes about 15 gallons per day under ideal conditions, and real-world performance is closer to 10 to 12 gallons once you account for temperature swings and air leaks. That’s four to six days of runtime just to pull the free water, before the bound water inside the drywall and framing even starts moving. Meanwhile, mold begins colonizing within 48 to 72 hours on wet drywall.
What a properly sized system looks like on paper:
- Class 1 water loss, 200 sq ft: At least one 70-pint low-grain refrigerant dehumidifier or one desiccant unit rated for the space.
- Class 2 water loss, 400 sq ft with wet walls: One low-grain refrigerant unit plus a second dehumidifier for the cavity space, or a desiccant unit with ducting into the wall assembly.
- Class 3 water loss, ceiling-to-floor saturation: Desiccant dehumidification is almost always required. Refrigerant units hit diminishing returns below 40% relative humidity.
- Class 4, hardwood, plaster, or masonry: Specialty drying methods, often including Injectidry or similar cavity-drying systems paired with desiccant dehumidification.
We run professional-grade equipment from Phoenix, XPOWER, B-Air, and Injectidry, which means we can put a dehumidifier sized for the actual water load on a job from day one. The difference between a 30-pint rental unit and a 130-pint Phoenix low-grain machine is the difference between a three-day dryout and a two-week mold problem.
Airflow Bottlenecks: Air Movers, Dead Zones, and Why One Fan Can’t Do the Job
Dehumidifiers pull moisture out of the air. Air movers push that dry air across wet surfaces. If the air movers aren’t positioned to create turbulent airflow across every wet material, the dehumidifier is effectively drying the same 100 cubic feet of air over and over while the wall cavity stays saturated. This is the most common equipment failure we see on Ontario restoration jobs that stall.
The rule restoration professionals follow is simple: air mover count is dictated by the square footage of wet surface, not by the size of the room. A 12 by 12 bedroom with wet carpet and pad needs four to six air movers placed at a 45-degree angle to the wall, creating a circular air pattern. One air mover propped against a wall dries a strip about 18 inches wide and does nothing for the rest of the room.
Common airflow failures and the fix for each:
- Air movers flat on the floor pointing at nothing: Air must move across the surface, not over it. Each air mover should be tilted slightly toward the wet material.
- Air movers placed too close together: Overlapping air streams create a dead zone in the center. Space units 10 to 14 feet apart along a wall, angled to push air in the same direction.
- No air movement in closets or under stairs: These dead spaces hold humidity. A small air mover or an Injectidry duct line must reach inside.
- Carpet not floated: On saturated carpet, the pad underneath will not dry if the carpet stays down. Restoration crews float the carpet and direct air under it. A homeowner who sees fans pointing at the top of the carpet on day three should ask why the carpet wasn’t floated.
We’ve walked into Ontario homes where four air movers were all aimed at the center of the room and the baseboards were still reading 25% moisture content on day five. The equipment was there. The placement wasn’t. That’s a methodology failure, not a material problem.
Structural Moisture vs. Surface Moisture: The Reading That Exposes a False “Dry”
Surface moisture readings can lie. A contractor who declares a dryout complete based on a pinless meter scan across the face of the drywall or the top of a hardwood floor is checking the wrong layer. Water moves into materials, not just onto them. Drywall can read 8% on the face while the back side against the stud bay reads 30%. A hardwood floor can feel dry to the touch while the sub-floor below holds enough water to buckle the boards a month later.
Here’s what a proper structural moisture check involves:
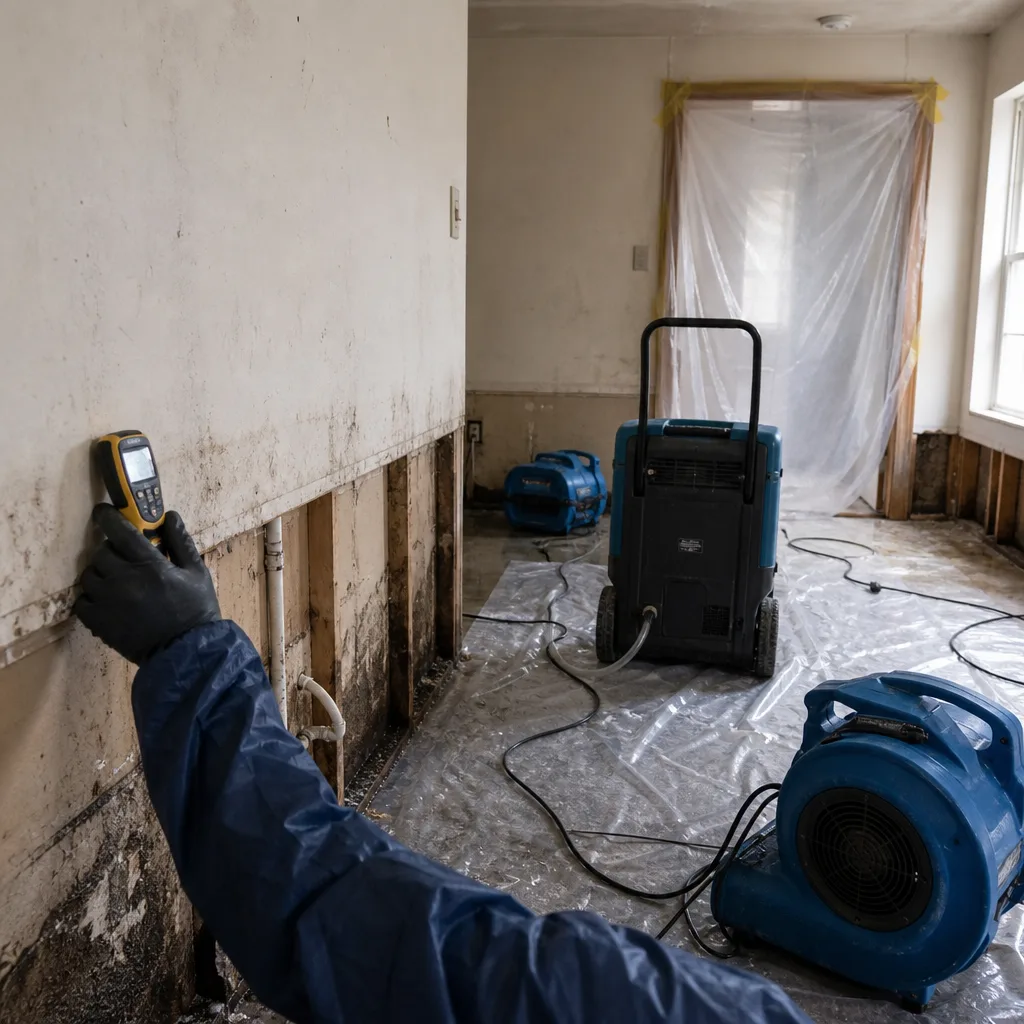
- Pin-style meter readings at the base of walls. The pins penetrate the material and read moisture at depth. Baseboards should read below 12% wood moisture equivalent before the wall is declared dry.
- Readings inside the wall cavity. This requires drilling small access holes or pulling baseboards to get a probe into the stud bay. Companies that skip this step are guessing.
- Sub-floor readings under hardwood and tile. A meter with extended probes or a pinless unit designed for depth penetration should be used on every wet floor. Tile is especially deceptive because the tile itself doesn’t absorb water, but the mortar bed and sub-floor underneath will.
- Temperature and humidity inside the cavity. If the cavity air is above 60% relative humidity, the structure is still drying, regardless of what the surface reads.
We use Injectidry structural drying systems precisely because they address the cavity problem without ripping out drywall that could be saved. The system pulls air through small access points and exhausts it through a dehumidifier, drying the inside of the wall assembly before mold can take hold. That’s structural drying, not surface drying, and it’s the standard Ontario adjusters look for when reviewing a dryout file.
For those dealing with this in the Muscoy area specifically, our Water Damage Restoration in Muscoy page goes into additional local detail.
Persistent Musty Odor After a Dryout: Missed Cavities and Unsealed Wall Sections
Musty odor that lingers after a dryout is not “normal” and it’s not something that will fade with time. It means organic material has been wet long enough to support microbial growth, and that growth is somewhere the drying equipment never reached. The most common locations in Ontario homes are wall cavities behind the water line, the space under kitchen and bathroom cabinets, the underside of stair stringers, and the gap between the sub-floor and ceiling below in two-story water losses.
Specific inspection points we check when odor persists:
- Unsealed baseboard gaps at the floor line. If water wicked up behind baseboards during the loss, the back sides of the boards and the drywall behind them are likely still wet or showing early mold.
- Under the bottom plate of framing. Water pools where the wall meets the floor. The bottom plate soaks first and dries last. If it wasn’t exposed and dried with direct airflow, odor will return within weeks.
- Insulation inside wet wall cavities. Fiberglass insulation holds water against framing. If the insulation wasn’t removed or thoroughly dried, the cavity stays humid and odor persists.
- The drywall-to-floor gap behind cabinets. Cabinet voids are almost always missed. A toe-kick in a kitchen or bathroom is a sealed box that traps humidity, and no air mover on the floor will reach it.
- HVAC registers and return cavities. Water that entered through a ceiling or ran down a wall can travel into ductwork. If the ducts weren’t inspected, musty air recirculates every time the system runs.
We’ve opened walls on Ontario jobs that had been declared “dry and complete” only to find the bottom 12 inches of drywall covered in early-stage mold growth inside the cavity. The surface metered dry. The cavity didn’t. That’s why we always pull baseboards and take structural readings in the affected zone as part of our standard process.
Containment Failures on Category 2 and 3 Jobs: Negative Air Pressure Done Wrong
Category 2 water, also called gray water, carries bacteria from washing machines, dishwashers, or toilet overflows without solid waste. Category 3, black water, comes from sewage or outside flooding and carries pathogens. Both categories require containment. When containment fails, contaminated air and aerosolized particles move into unaffected parts of the home, which spreads the problem and creates odor and health issues in rooms that were never wet.
The telltale signs of a containment failure:
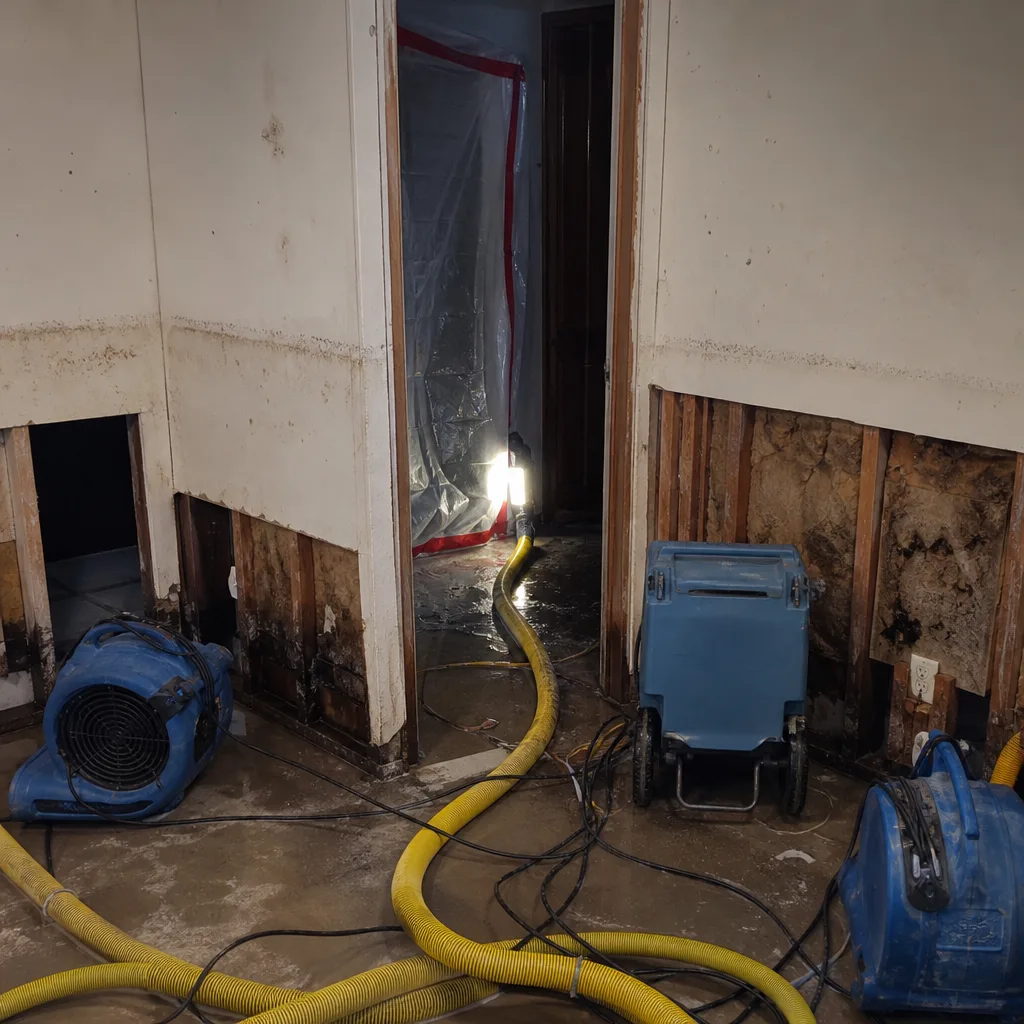
- Plastic sheeting pushed outward away from the work area: That’s positive pressure, not negative. Air is escaping the containment chamber instead of being pulled into the air scrubber.
- Gaps at the top of the containment, not the bottom: Since warm contaminated air rises, gaps at the ceiling line leak more than small gaps at the floor line. Seams must be sealed with tape, top to bottom.
- The air scrubber exhausts into the same room it’s cleaning: On a Category 3 job, the HEPA-filtered unit should be positioned to create negative pressure inside the containment area, with the exhaust ducted to an outside window or vent. If it recirculates inside the barriered zone, that’s acceptable only if the intake and exhaust create proper directional airflow.
- No manometer reading: Certification requires verifying negative pressure with a manometer. If the crew can’t show you a pressure reading, the containment hasn’t been verified.
Correcting a containment failure means sealing every gap with tape, adding a second air scrubber if the cubic footage exceeds the unit’s rating, and verifying the pressure reading before contaminated material is disturbed. On Category 3 losses, we also run the scrubber during demolition, not just after it, because disturbance produces the highest concentration of airborne particles.
When a job requires mold remediation after a failed dryout, the containment and air-scrubbing setup matters just as much. Our Mold Remediation in Muscoy page covers that process in detail.
Documenting a Failed Dryout: What Homeowners Can Capture to Support a Claim or Dispute
If your dryout is stalling and you’re heading toward a dispute with a restoration company or an insurance adjuster, documentation is your leverage. Adjusters review paper trails, not stories. The right records turn a he-said situation into a measurable failure.
Here’s what to capture from the first day of the job:
- Photograph every piece of equipment placed in the home. Include the manufacturer name and model number visible on the label. This establishes what equipment was actually deployed, not what the invoice says was deployed.
- Photograph equipment placement daily. If air movers are moved, stolen, or never repositioned, the photos show it. A time-stamped photo of the same air mover in the same spot on day four is evidence of a static drying setup.
- Keep a daily log of dehumidifier readings. If the unit displays humidity, note the number at the same time every day. If it has a water collection bucket, record how often it’s emptied. A dehumidifier that’s filling less frequently while the room still feels wet means diminishing extraction.
- Document any visible moisture or changes. Warped baseboards, bubbling paint, new odor, or dark spots on drywall should be photographed and dated. These are evidence of unresolved moisture.
- Request the daily moisture log from the restoration company. Every professional dryout should include written readings: date, room, material tested, moisture content, temperature, and relative humidity. If they won’t provide it, that’s a red flag.
- Request the drying chamber diagram. Restoration companies document equipment placement on a floor plan. If the diagram shows four air movers and the photos show three, you have a discrepancy.
We document every Ontario dryout with daily moisture logs, equipment placement diagrams, and photographic evidence at each stage, because we know our files get reviewed by insurance adjusters who are trained to look for exactly these details. Documentation your insurer can work with is not an afterthought, it’s the baseline of a professional restoration. For more guides & resources on navigating the restoration process, visit our blog.
Common Mistakes to Avoid
- Turning off equipment too early. A dryout isn’t complete when the carpet feels dry. Structural materials release moisture slowly, and shutting down equipment before cavity readings confirm dry conditions invites mold and odor to return. In Ontario’s climate, where humidity swings are common, the extra day of drying is cheap insurance.
- Relying on a hardware-store dehumidifier for a flooded room. A 30-pint unit cannot handle a Category 1 water loss. It will run continuously, the room will stay humid, and mold will get a head start.
- Declaring the job done on surface readings alone. Surface moisture is not structural moisture. Any contractor who doesn’t take readings inside wall cavities or under flooring is not verifying the dryout.
- Skipping containment on Category 2 or 3 losses. Gray and black water jobs require negative air pressure and sealed barriers. Without them, contaminants spread to unaffected rooms and the whole house becomes a remediation project.
- Ignoring persistent odor. Musty smell after a dryout means microbial growth somewhere that wasn’t dried. It won’t resolve itself, and postponing action allows the colony to expand.
- Not confirming the water source was fully stopped. A slow leak behind a wall, a pinhole in a pipe, or a leaking supply line can keep feeding moisture into the structure for days after the visible water is extracted. Always verify the source is isolated before drying begins.
- Hiring a general contractor for structural drying. Restoration is a specific discipline. The company you hire should deploy professional-grade drying equipment and follow IICRC-aligned standards, not improvise with rental fans.
When to Call a Professional
We’re going to be direct about this. A stalled dryout is not a DIY fix. When you see surface readings that look dry but smell the musty odor anyway. When you’re emptying a dehumidifier bucket three times a day on day five. When the baseboards are pulling away from the wall or the hardwood floor is cupping. When the water came from a sewage line or outside flooding and containment was never set up. These are all signs that the original restoration attempt has failed and the structure is now at risk of secondary damage that gets more expensive by the day. Dorchester Water Damage offers free estimates in Ontario. Call (833) 589-8366 and we’ll send a team to take structural moisture readings, assess equipment needs, and put together a drying plan that holds up to adjuster review.
Frequently Asked Questions
You’ll see measurable progress every day: relative humidity in the affected area should drop toward 40-50% within 48 hours, dehumidifier collection should slow as the structure dries, and moisture meter readings on walls and floors should trend downward. If the numbers plateau for two consecutive days, the drying system is failing and needs adjustment.
Persistent musty odor after a dryout almost always means moisture remains trapped in a wall cavity, under flooring, or behind cabinets where the drying equipment couldn’t reach. The surface may read dry, but the structure behind it is still wet and likely developing microbial growth. The fix is opening the affected cavity and applying direct drying methods.
A standard Category 1 water loss in Ontario should dry in three to five days with properly sized equipment. Category 2 and 3 losses take longer due to containment requirements and material removal. If your dryout has run past seven days without a clear written explanation from the restoration company, the system was likely undersized from the start.
No. Hardware-store dehumidifiers pull 20 to 30 pints per day, which is sufficient for a damp basement but not for a flooded room that holds 40 to 60 gallons of water in the materials. Restoration-grade equipment like the Phoenix, XPOWER, and B-Air units we deploy pulls 70 to 130+ pints per day and creates the airflow necessary to dry structural cavities.
Insurance coverage for a failed dryout depends on the specifics of your policy and the documentation from the original restoration attempt. If you can show daily logs that plateaued, equipment that was undersized, or surface readings taken without structural verification, you have a much stronger case. That’s why documentation matters from hour one.
Stop the job, document everything, and get a second opinion. Photograph equipment, request all logs and diagrams, and call a restoration company that follows IICRC-aligned standards to assess what was missed. The longer an unresolved moisture problem sits, the more expensive the correction becomes.
The Bottom Line
Failed dryouts are diagnosable failures, not bad luck. A dehumidifier still pulling 20 pints a day on day four means the machine was undersized. Air movers pointing at the center of the room mean turbulent airflow never reached the wet surfaces. Surface readings without cavity readings mean the dryout was never verified. And persistent odor means moisture found a hiding place the equipment never touched. For Ontario property owners, the fix is the same in every case: professional-grade equipment, IICRC-aligned methodology, structural drying that reaches inside walls and under floors, and a written record that shows the work was done. If your dryout has stalled or the odor returned, don’t guess. Call (833) 589-8366 for a free assessment and a drying plan built for the actual water load, not a big-box rental receipt.
Written by the team at Dorchester Water Damage, serving Ontario since 2018.
See the difference
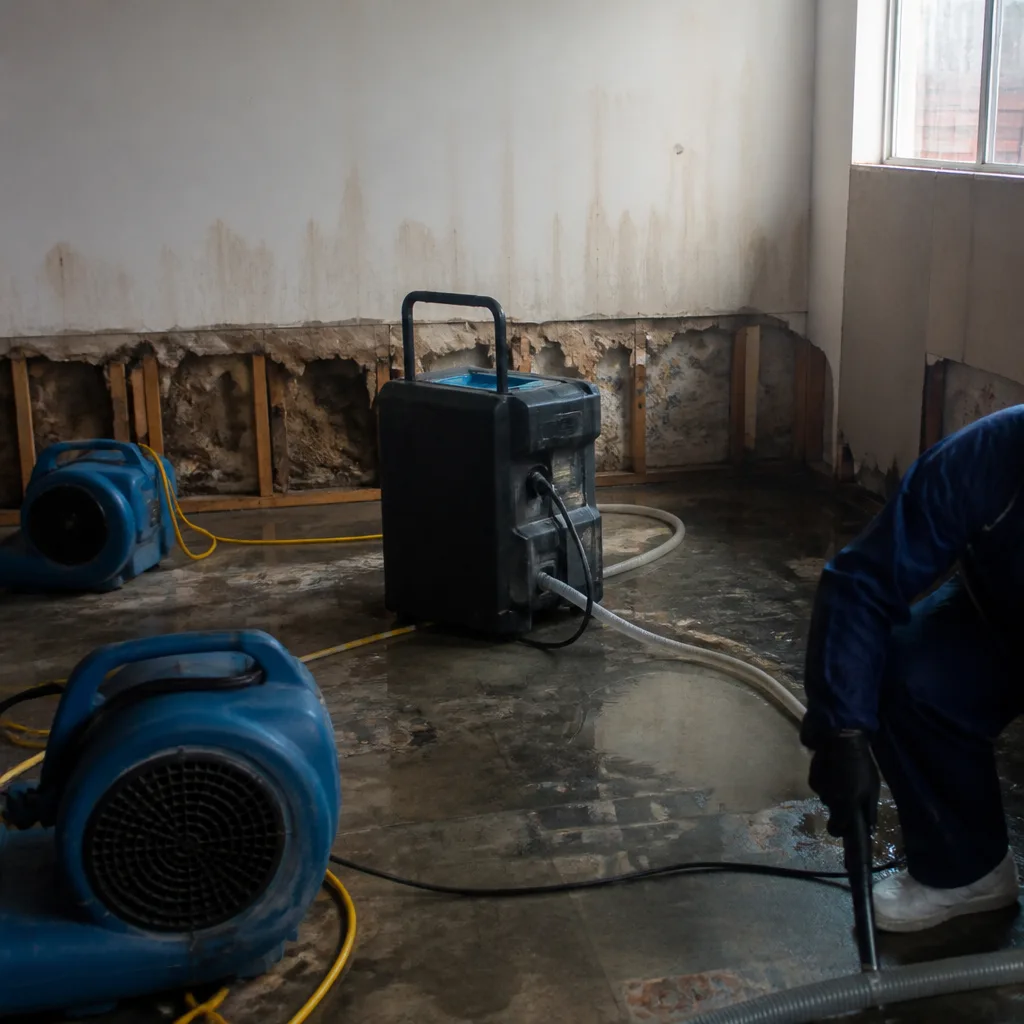 Before
 After
 Before
 After
 Before
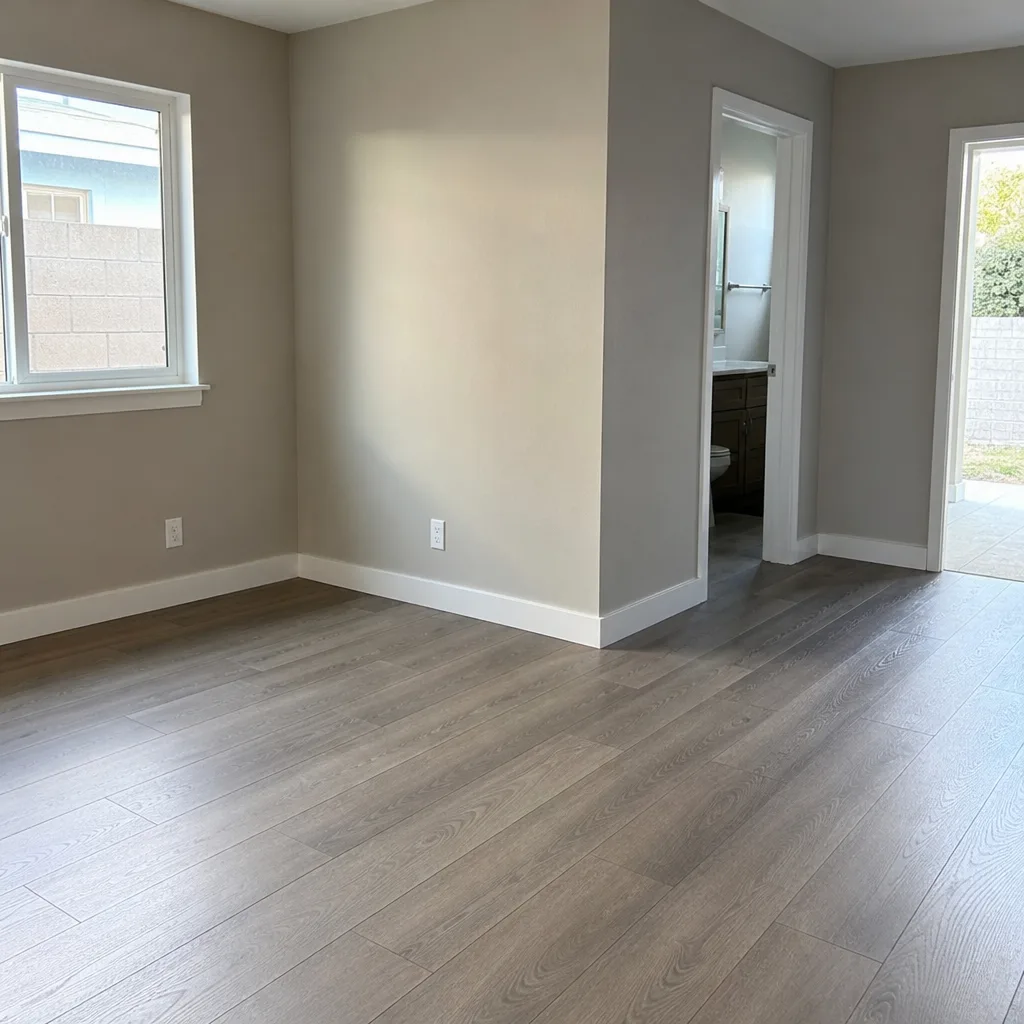 After